Linux Mint · Cinnamon

Auto tiling on Cinnamon.

Cinnamon can snap a window to half or a quarter of the screen, one window at a time. It does not arrange your windows for you. For that you need an extension, and this page shows how to set one up, without leaving Cinnamon.

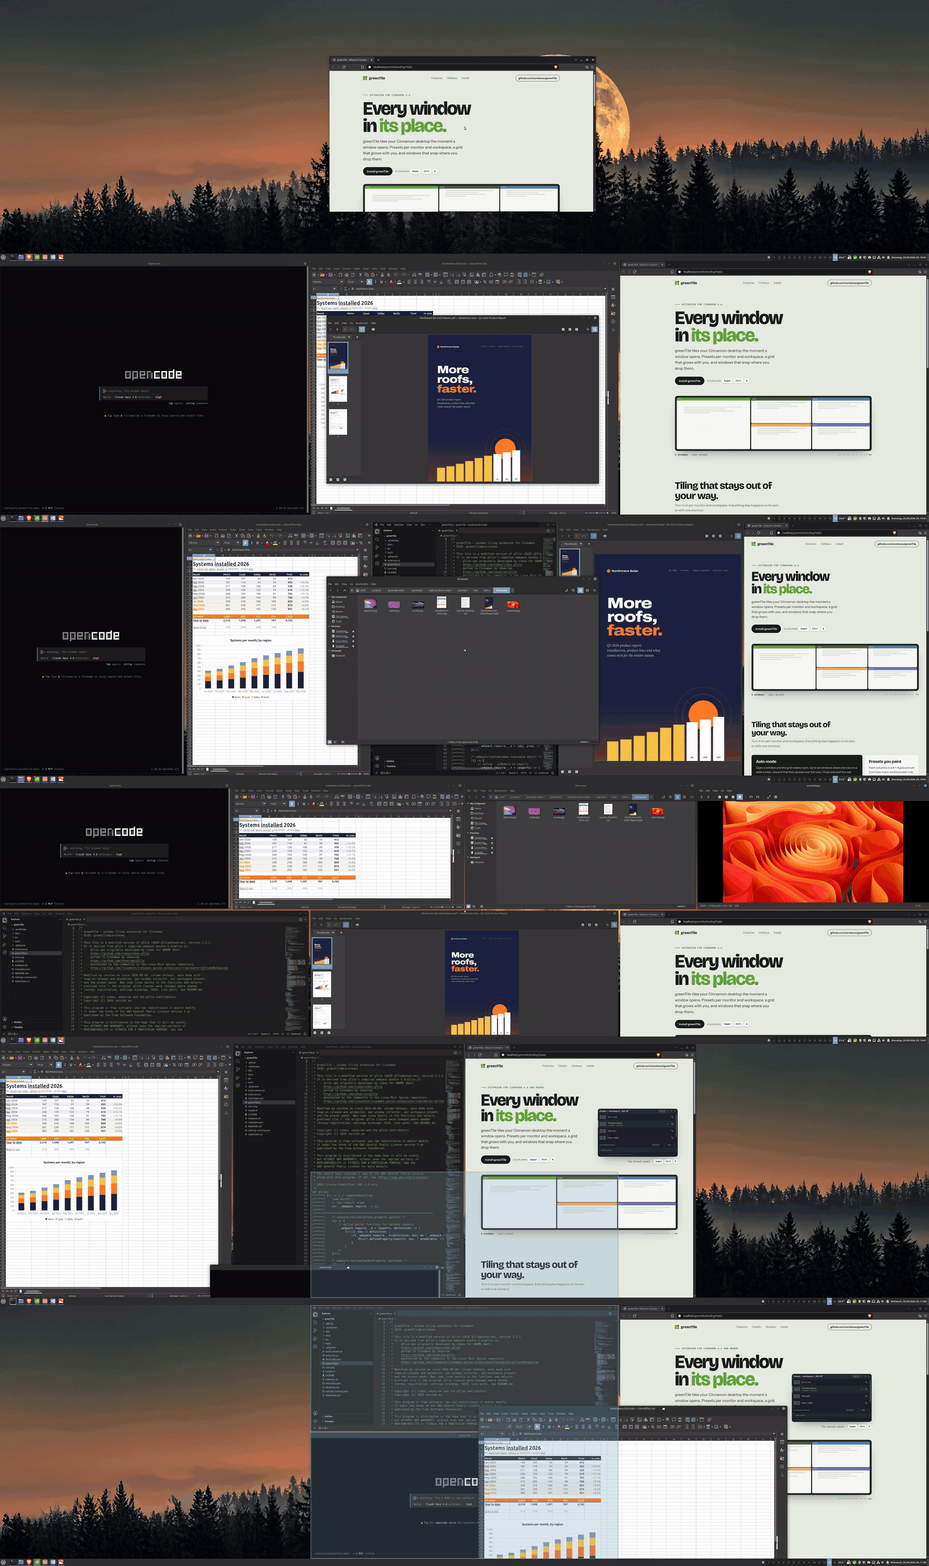
Windows on a wide monitor tile themselves as they open; then one window is dragged onto another and splits it, with a translucent preview of the result
Auto mode on a 32:9 monitor: windows take their place as they open, then a drag splits one of them.

What Cinnamon does on its own.

Cinnamon's window manager, Muffin, has tiling built in. It is good at placing a single window quickly. Everything beyond that is up to you.

Built in

  • Edge tiling by mouseDrag a window against a screen edge and it fills that half. Depending on a setting, the top edge maximizes it instead.
  • Halves and quartersBesides the four halves, Muffin knows a quarter tile for each corner of the screen.
  • KeyboardSuper with an arrow key pushes the focused window towards that side of the screen. The keys can be changed in Cinnamon's keyboard settings.Super←→↑↓

Not built in

  • Arranging by itselfEach tile is one action on one window. A new window opens wherever the application puts it, and a closed one leaves a hole.
  • More than halves and quartersThree or six columns, a main window with a stack beside it, a wide centre column: there is no way to set up shapes like these.
  • Layouts per monitor and workspaceThere is nothing to remember that workspace 2 on the ultrawide is for three columns.
  • GapsThere is no setting for space between tiled windows.

How to get windows that tile themselves.

With greenTile installed and enabled (see install below), this is the whole setup. Nothing has to be configured first.

  1. Turn on auto mode

    Press the key on the workspace you want tiled. It acts on the monitor of the focused window, and its windows tile at once. Auto mode is stored per monitor and workspace, so it only affects the one you are on. A single window is left as it is unless you switch on Fill the monitor with a single window in the settings.

    SuperCtrlA
  2. Open and close windows as usual

    New windows join the end of the layout. Opening, closing, minimizing or restoring a window retiles the monitor after 300 ms. Without a preset, a monitor 2100 px wide or wider gets up to six windows in one row, then even rows; a narrower one gets up to three in a row, then three columns with stacks.

  3. Pick a layout if you want a different shape

    The preset panel offers sixteen editable starters, from Two columns to Wide center + stacks, each with a live preview of what a click would do right now. Click one to assign it to this monitor and workspace, or paint your own on a 6 × 4 grid.

    SuperCtrlP
  4. Adjust by hand

    Drag a border and the neighbours follow; borders are remembered per window count. Drop a window on the outer edge of another to split it; drop it in the middle and it takes that slot while its neighbours make room. Swap with the keyboard, and set a gap of 0 to 48 px in the preset panel.

    SuperAlt+arrow · SuperCtrl+arrow
  5. Keep some windows out

    Let one window float with a key, press again to tile it again. Apps that should never tile go on a list in the settings, matched by window class, title or app id; an app picker fills in installed applications, flatpaks included.

    SuperG
  6. Pause it again

    Auto mode off keeps the assigned preset but stops automatic tiling on this monitor and workspace. Turning it back on, or clicking a preset, resumes.

    SuperCtrlD

One change to Cinnamon's own keys: on a monitor and workspace with auto mode on, Super+arrow moves the keyboard focus to the neighbouring tiled window instead of pushing the window to a half. Everywhere else, and for windows greenTile does not manage, the native edge tiling stays as it was. Super+arrow itself is Cinnamon's key and is changed in Cinnamon's keyboard settings; all of greenTile's own keys can be changed on the Hotkeys page of its settings.

Install greenTile.

Requires Cinnamon 6.0.4 or newer. Tested on Linux Mint 21.3 to 22.3 (Cinnamon 6.0.4 to 6.6) with X11. Free software under the GPL v3.

From Cinnamon's Extensions manager

Not yet. greenTile is not listed in the Cinnamon Spices catalogue so far, so it does not show up under Extensions → Download. Until it is, use the release zip.

With the installer script

Download the zip from the latest release, unpack it and run install.sh. It copies the extension to ~/.local/share/cinnamon/extensions/greenTile@carsteneu/ and compiles the translations. It needs flock from util-linux; without msgfmt from gettext the interface stays in English. Then restart Cinnamon and enable greenTile in System Settings → Extensions.

Updating

Run ./update.sh from the unpacked zip: it fetches the latest release and installs it. A running Cinnamon keeps the code it loaded at startup, so restart Cinnamon (X11) or log out and back in (Wayland) afterwards.

Building from a checkout is described in the README. If gTile is installed, disable it first: both use SuperG.
# unpack the release zip and install for your user
unzip greenTile-*.zip
cd greenTile-*/ && ./install.sh

# restart Cinnamon on X11 to load the new code
Ctrl+Alt+Esc   # or Alt+F2, then r
# Wayland: log out and back in instead

# then: System Settings → Extensions → greenTile → enable
# and on the workspace you want tiled:
Super+Ctrl+A

What greenTile does not do.

If one of these is what you are after, a different tool fits better; it is worth knowing before you install.