Drop it, it snaps
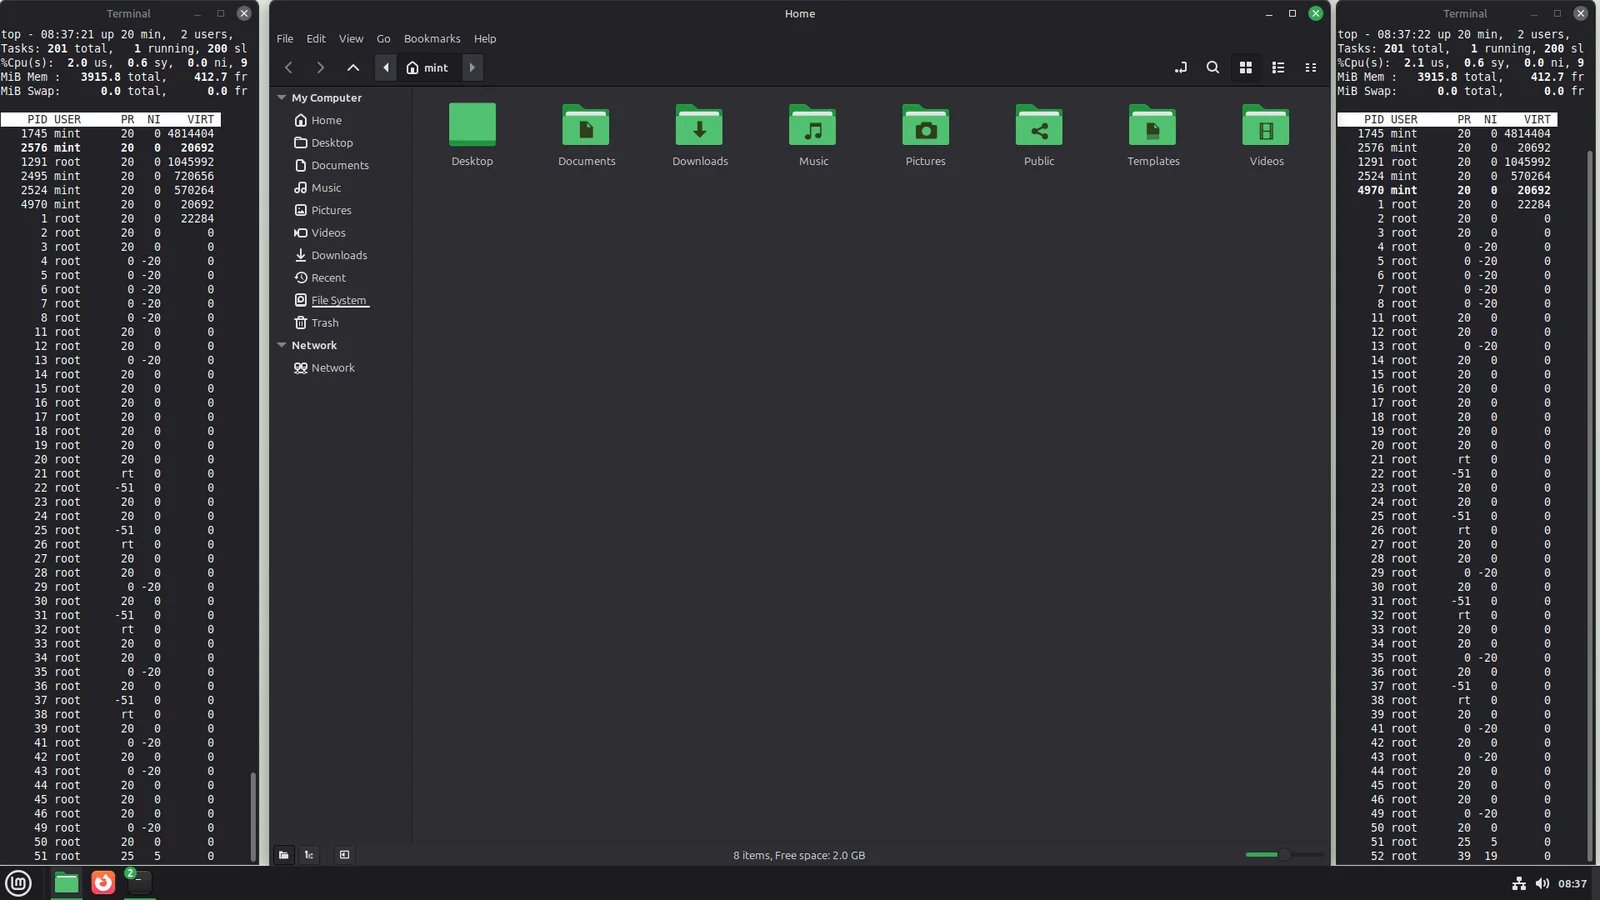
Move a window by hand and let go. It lands in the slot under the pointer and its neighbours make room. Drag it to another monitor and both screens retile.
greenTile is a free extension that arranges your windows while you work. Open a window and the others make room. Close one and the space closes with it. You choose the shape, greenTile keeps it.
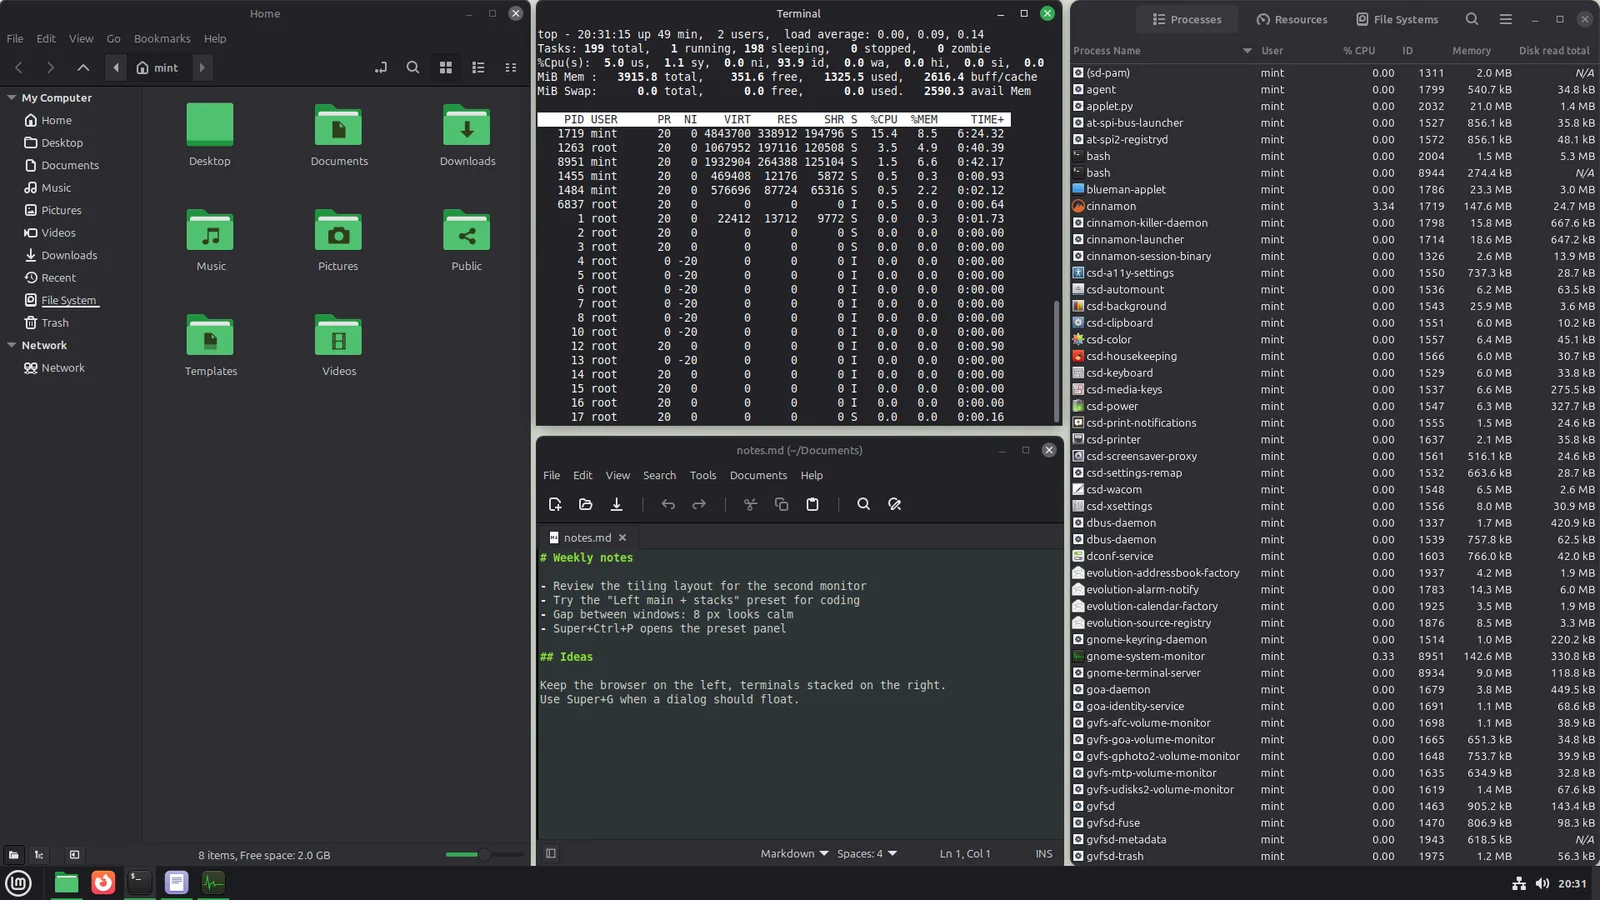
Switch on auto mode with SuperCtrlA. It acts on the monitor of the focused window and on the workspace you are looking at, so a second workspace or a second screen stays as it is until you switch it on there too.
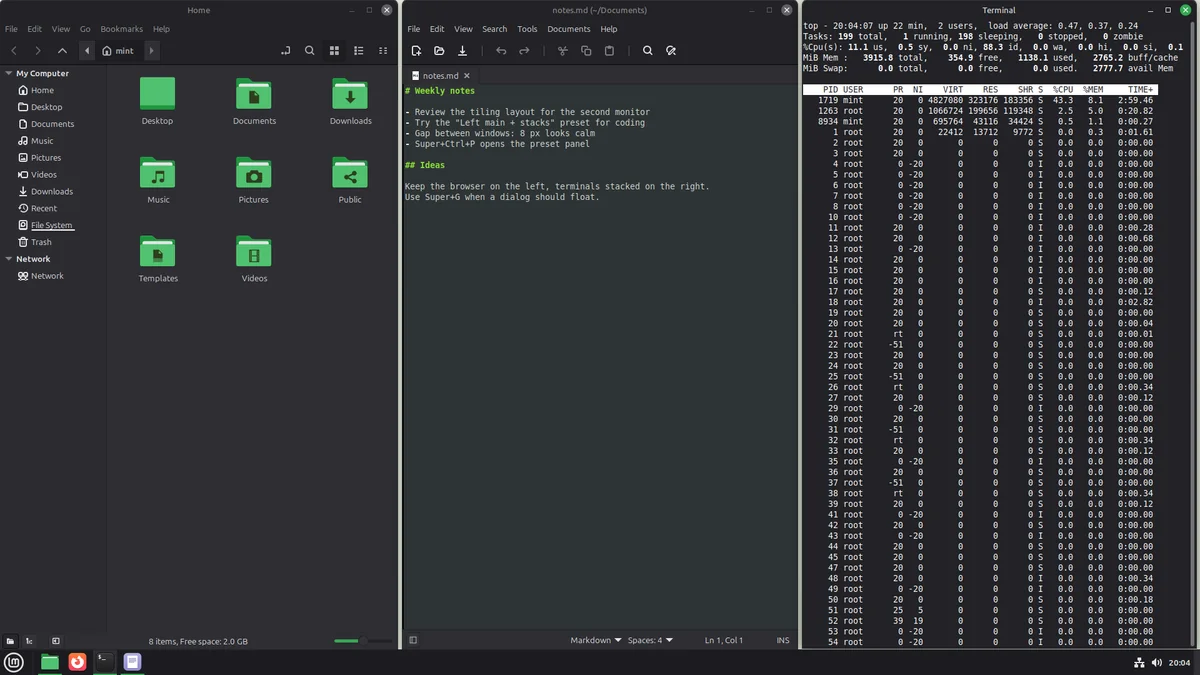
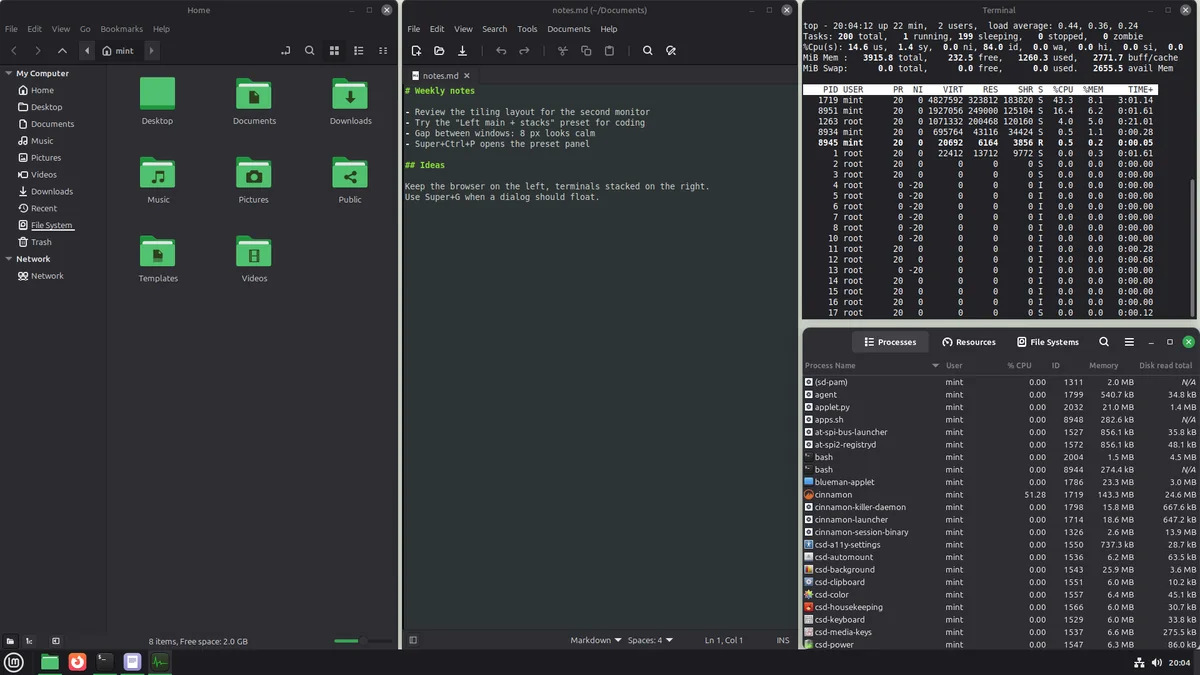
Then simply work. A new window joins the end of the layout, and opening, closing, minimizing or restoring a window retiles the monitor after 300 ms. Dialogs are ignored. You do not have to pick a layout first: without one, greenTile puts up to three windows side by side on a monitor narrower than 2100 px and then starts to stack them. A wider monitor takes up to six in one row before it adds rows.
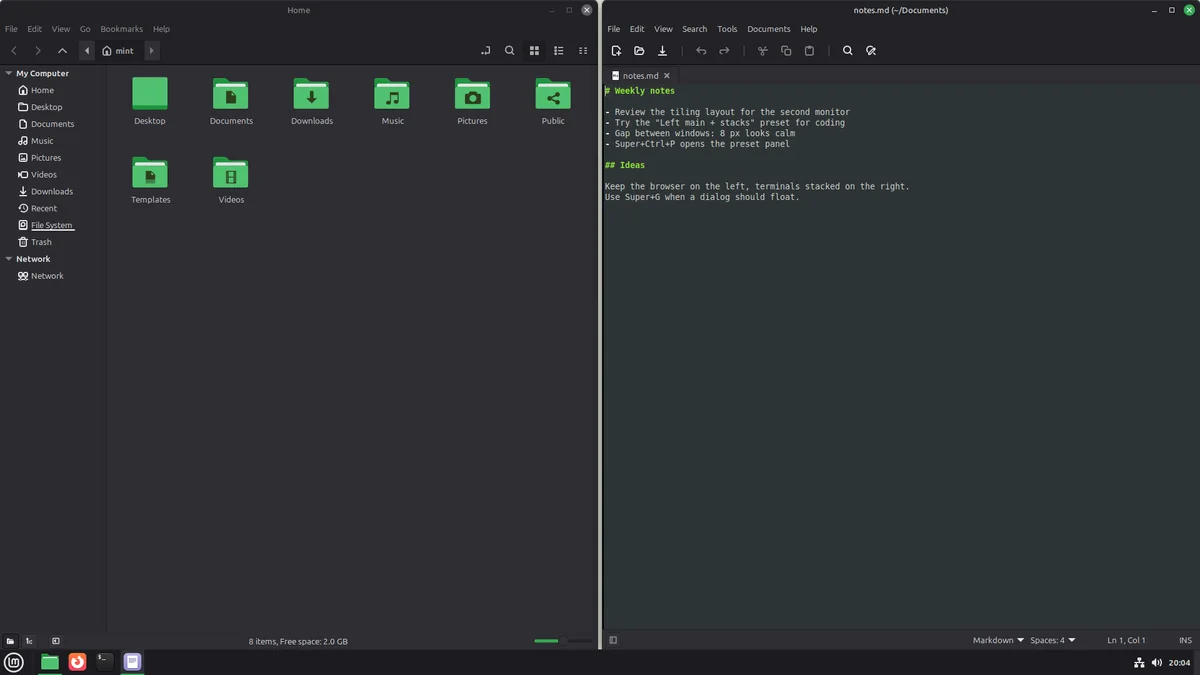
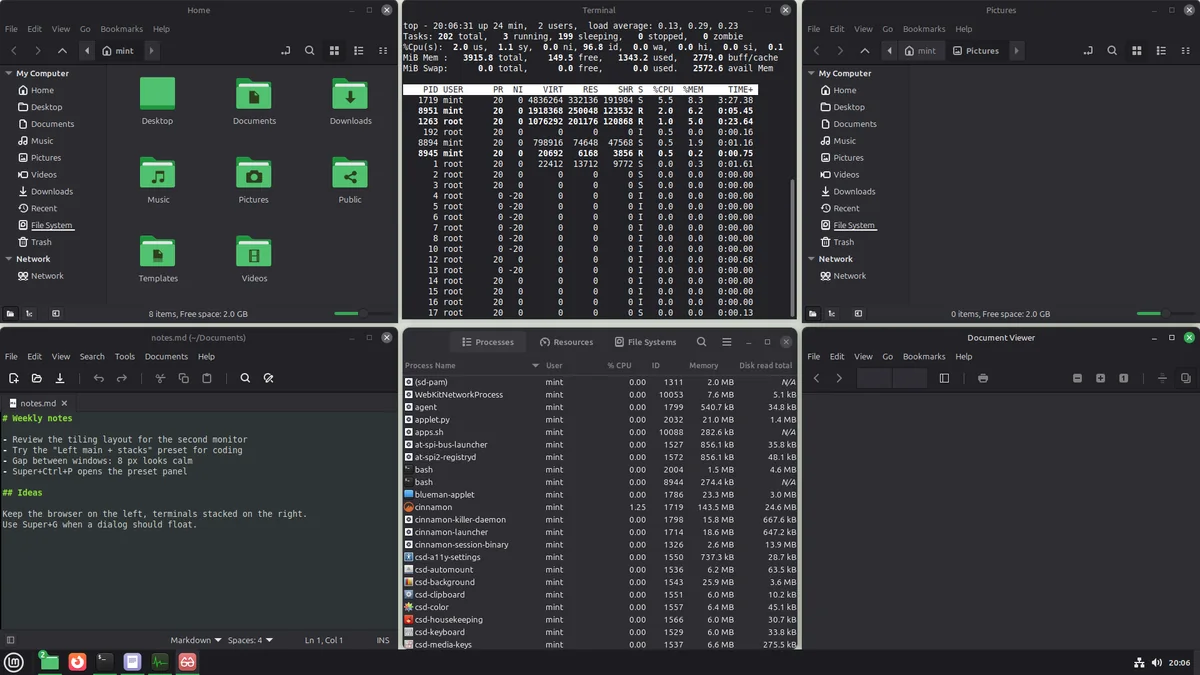
A lone window is centered: about 62 % of the width, the golden ratio, and 90 % of the height. It looks calm on a wide screen and leaves the desktop visible around it.
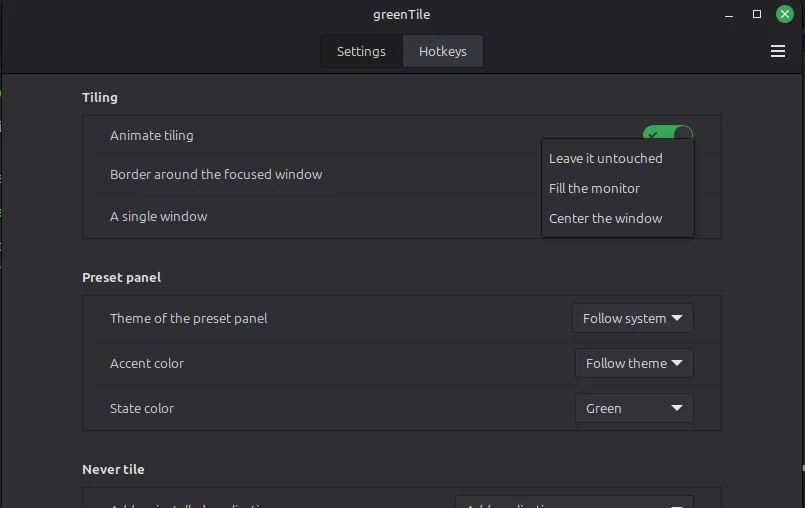
If you prefer it to fill the monitor, or to stay exactly where you put it, choose that under A single window in the settings. A window you maximized yourself, or one that opened in fullscreen, is always left as it is.
greenTile also keeps the order of your windows. They are tiled in the order they already have on screen, and on X11 that order survives a Cinnamon restart and unplugging and replugging a monitor.
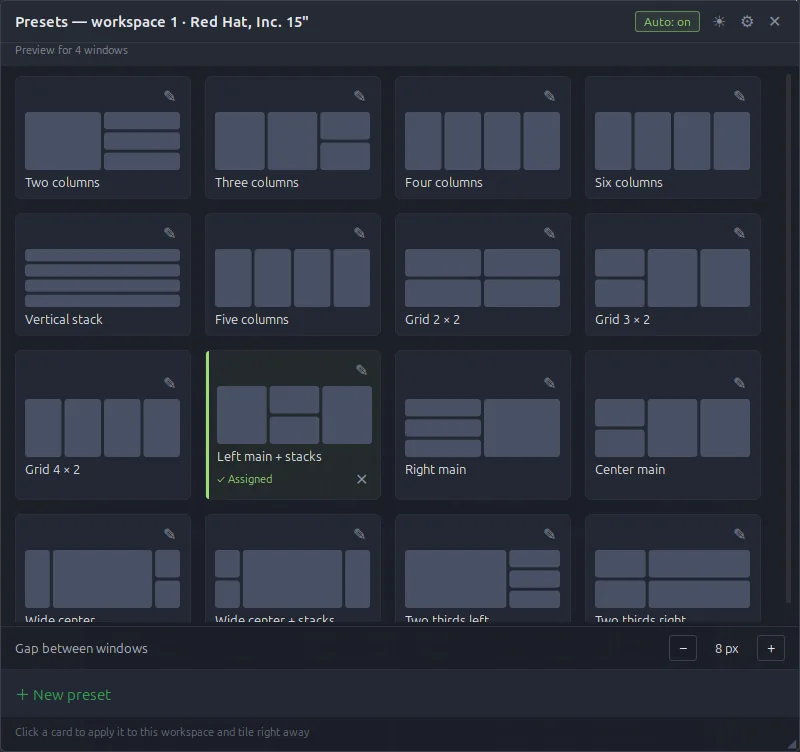
SuperCtrlP opens the presets for the monitor you are on. greenTile ships with sixteen of them, from Two columns to Center main, and every card shows what a click would do with the windows you have open right now.
One click assigns the preset to this monitor and workspace and tiles at once. The panel stays open, so you can try a few before you settle. Each monitor and workspace keeps its own choice: three columns on the ultrawide, a main window with stacks on the laptop.
At the bottom of the panel you set the gap between windows, from 0 to 48 px in steps of 2. Only the edges where two windows meet move in, the outer edges stay flush with the screen.
A column can now be wider than its neighbours. Four of the sixteen starters use this: Wide center, Wide center + stacks, Two thirds left and Two thirds right.
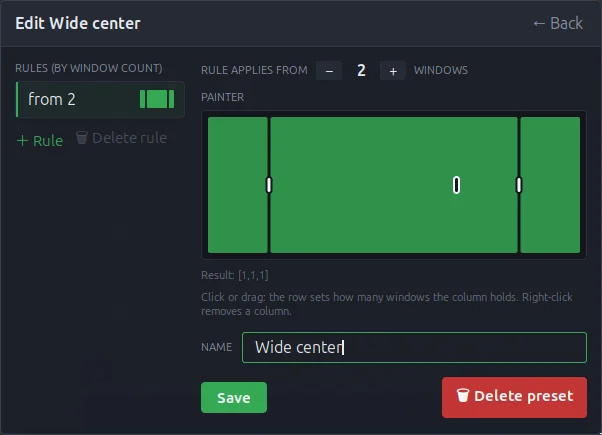
Wide center gives the middle column four of six parts: a file manager or a browser in the middle, a terminal on each side. Some applications insist on a minimum width; such a window simply takes the room it needs.
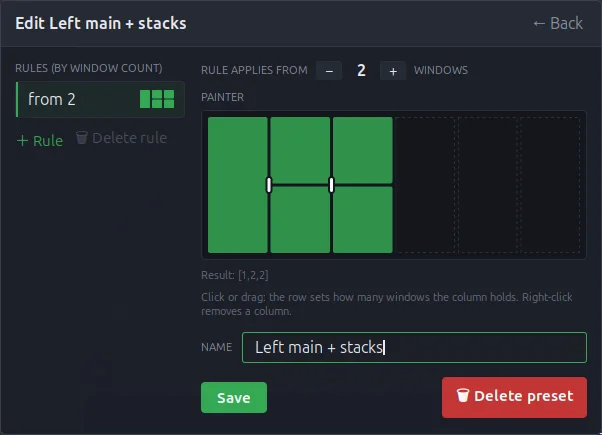
The pencil on a card opens the editor. You paint on a grid of six columns and four rows: click or drag in a column to set how many windows it holds, right-click to remove it. A preset can have several rules by window count, for example two columns from two windows and a main window with stacks from four. Saving a preset that is in use retiles right away.
Between two painted columns sits a small handle. Drag it to merge them into one wide column; the handle inside a merged column splits it again. The line below the painter shows the result, for example [1,2,2]: one window in the first column, two in each of the others.
Drag the border between two tiled windows and the neighbours follow. greenTile remembers your borders per window count: open a fourth window and it gets its own layout, close it again and your three-window borders come back.
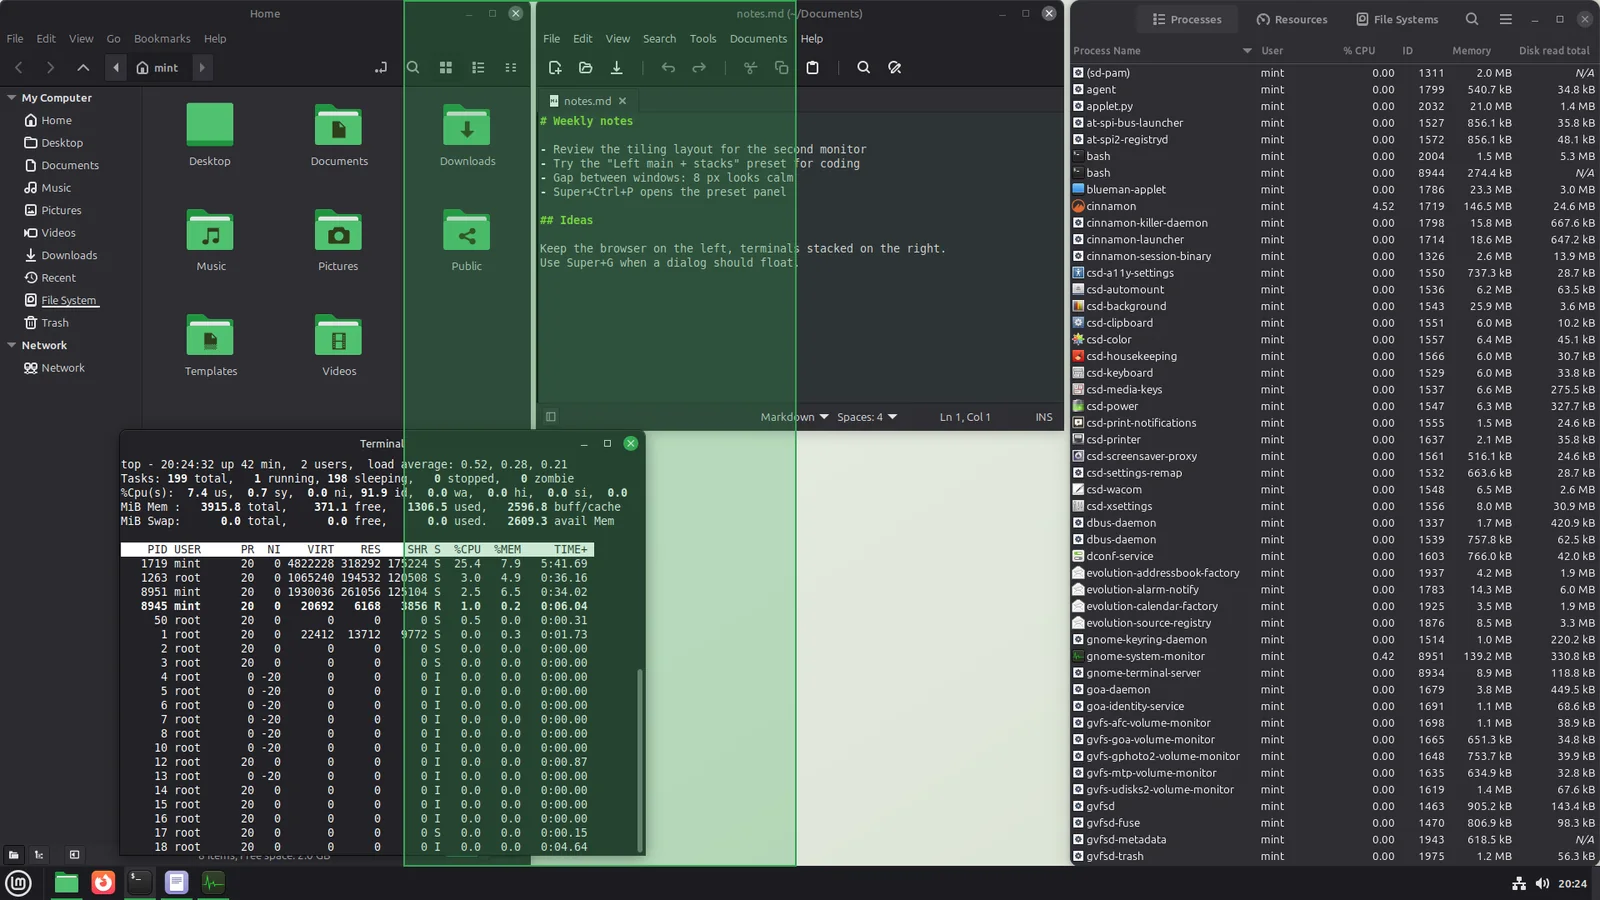
Move a window by hand and let go. It lands in the slot under the pointer, and the others make room. Drop it on the outer quarter of another window instead, and it splits that window: it stacks above or below, or opens a new column beside it. A translucent preview shows the result before you release the mouse button.
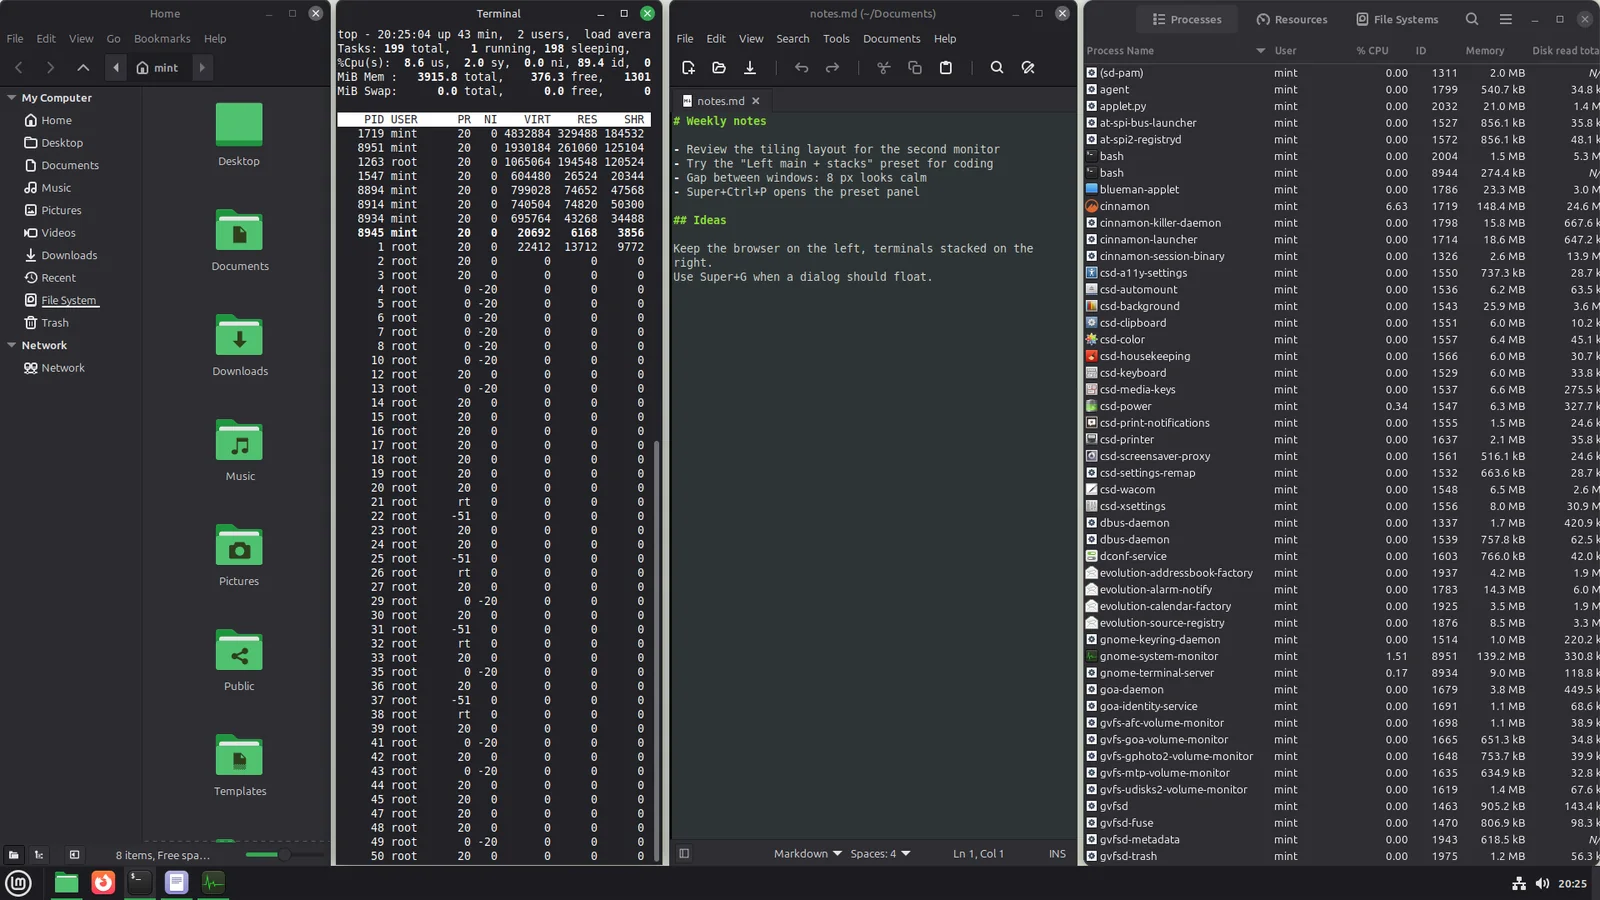
On a workspace with auto mode on, Super+arrow moves the keyboard focus to the neighbouring window instead of pushing the window to a screen half. A thin border in the state color shows for three seconds where the focus went.
Every one of greenTile's keys can be changed on the Hotkeys page of its settings.
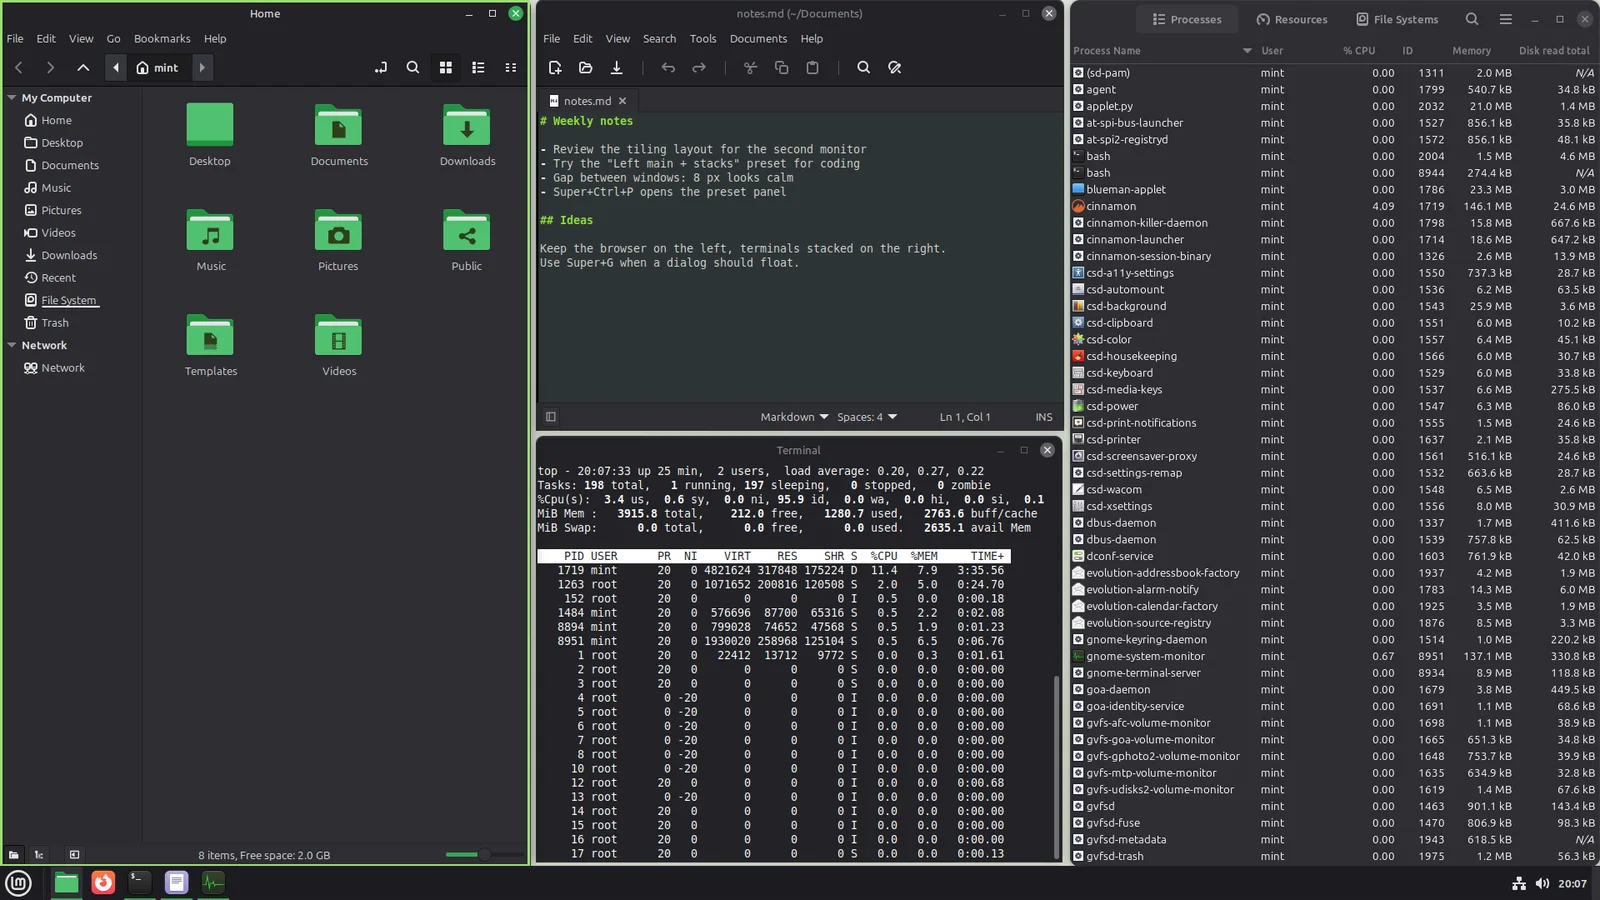
Not every window belongs in the grid. Dialogs that belong to another window, and windows that cannot be resized, always float where they open. The same goes for the settings dialogs of Cinnamon's extensions and applets, greenTile's own included.
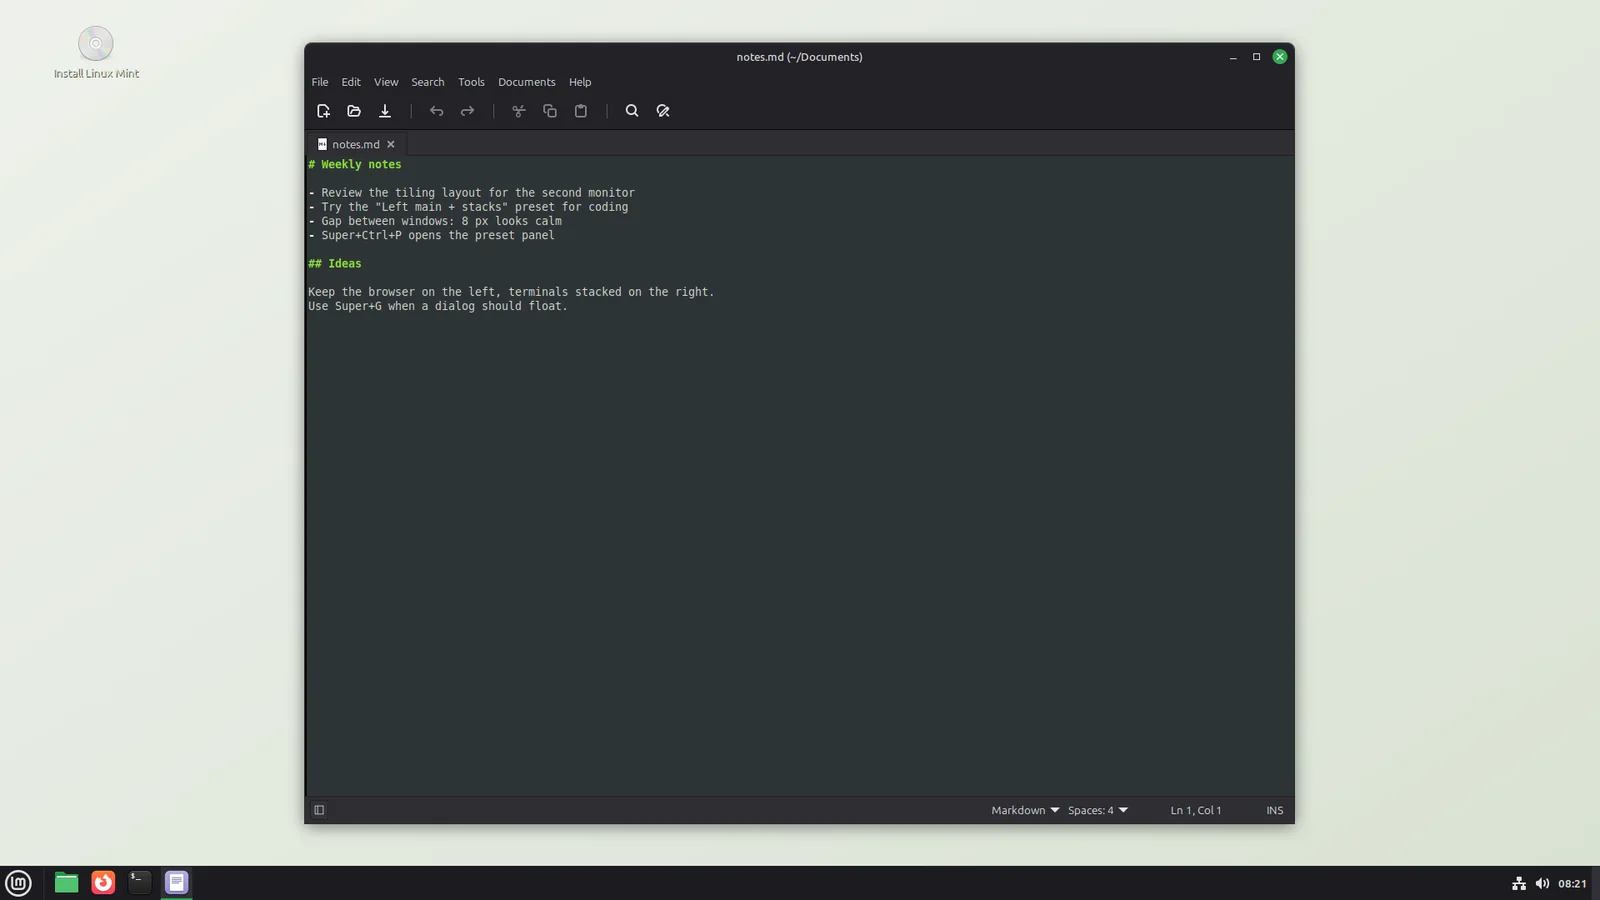
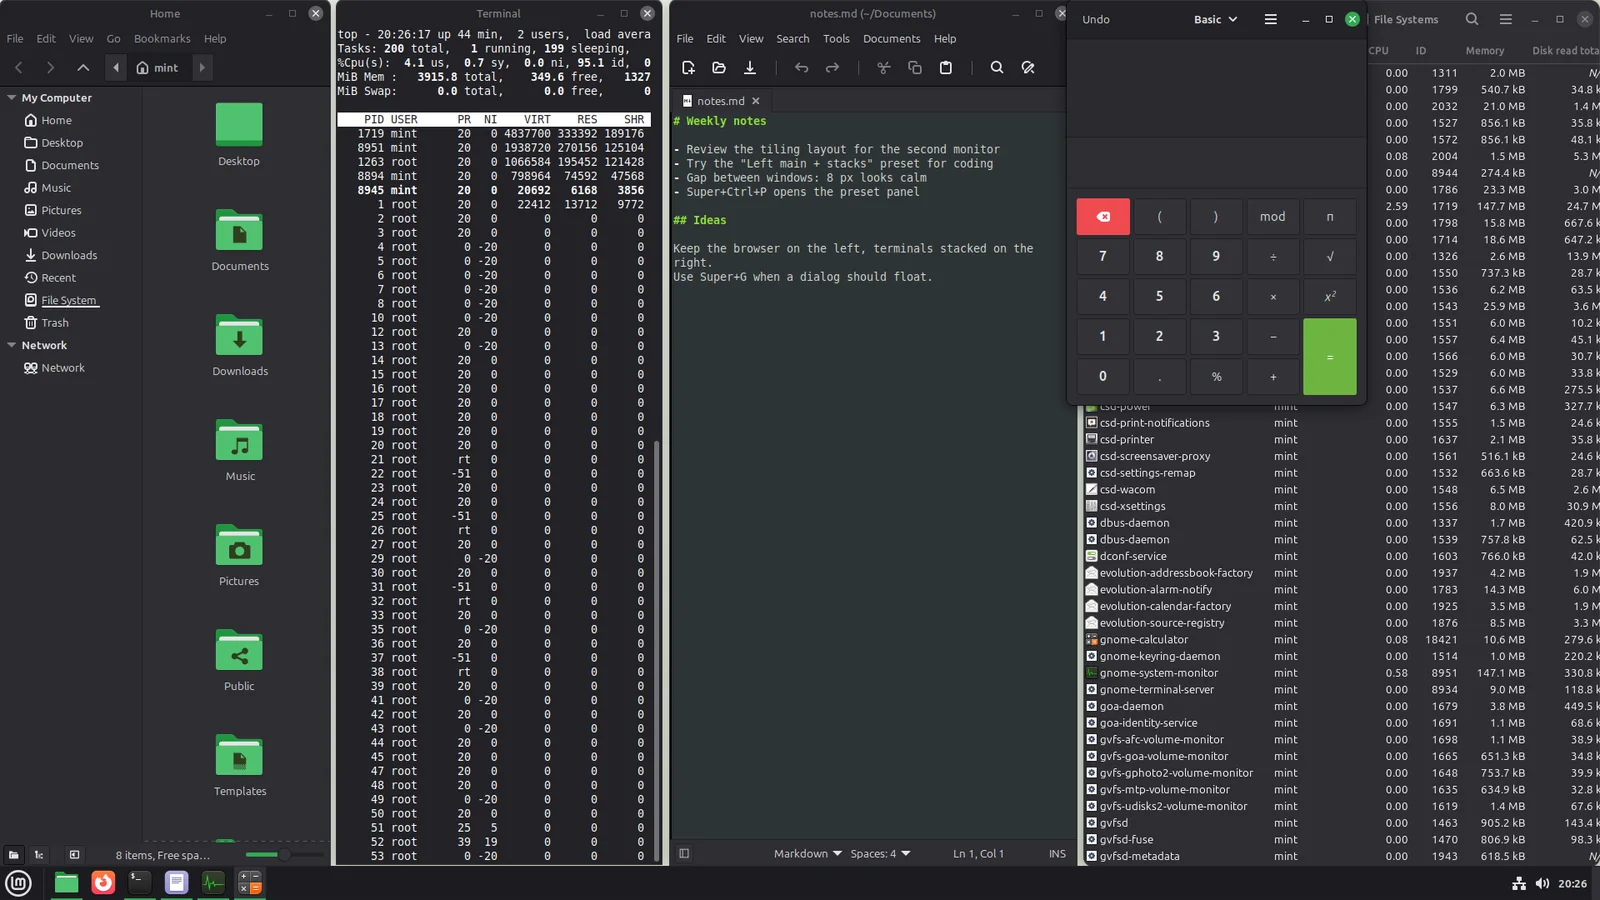
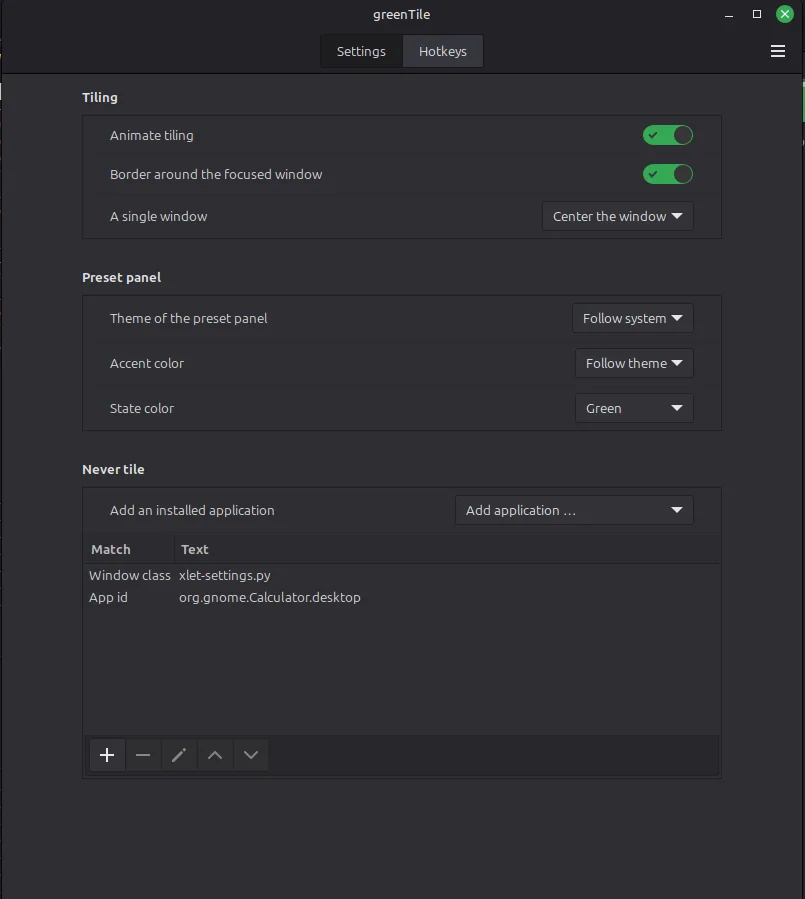
For everything else there is the Never tile list in the settings. A row matches a window class, a title or an app id, and the app picker adds an installed application with one click, flatpaks included. Here the calculator stays out of the layout, and the windows behind it keep their places.
To let a single window float just for now, press SuperG. Press it again and the window tiles again.
Cinnamon's window manager, Muffin, has tiling built in. It is good at placing a single window quickly. Everything beyond that is what greenTile adds.
One change to Cinnamon's own keys: on a monitor and workspace with auto mode on, Super+arrow moves the focus instead of pushing the window to a half. Everywhere else, and for windows greenTile does not manage, the native edge tiling stays as it was.
Requires Cinnamon 6.0.4 or newer. Tested on Linux Mint 21.3 to 22.3 (Cinnamon 6.0.4 to 6.6) with X11; on Wayland the first tests work. Free software under the GPL v3.
Not yet. greenTile is not listed in the Cinnamon Spices catalogue so far, so it does not show up under Extensions → Download. Until it is, use the release zip.
Download the zip from the latest release, unpack it and run install.sh. It copies the extension to ~/.local/share/cinnamon/extensions/greenTile@carsteneu/ and compiles the translations. It needs flock from util-linux; without msgfmt from gettext the interface stays in English. Then restart Cinnamon and enable greenTile in System Settings → Extensions.
Run ./update.sh from the unpacked zip: it fetches the latest release and installs it. Settings and presets are kept. A running Cinnamon keeps the code it loaded at startup, so restart Cinnamon (X11) or log out and back in (Wayland) afterwards.
Building from a checkout is described in the README. If gTile is installed, disable it first: both use SuperG.
# unpack the release zip and install for your user
unzip greenTile-*.zip
cd greenTile-*/ && ./install.sh

# restart Cinnamon on X11 to load the new code
Ctrl+Alt+Esc   # or Alt+F2, then r
# Wayland: log out and back in instead

# then: System Settings → Extensions → greenTile → enable
# and on the workspace you want tiled:
Super+Ctrl+A
Once auto mode is on, greenTile takes care of these. The home page has the rest, and the complete list is in FEATURES.md.
Move a window by hand and let go. It lands in the slot under the pointer and its neighbours make room. Drag it to another monitor and both screens retile.
A preset made for four windows still works with three or two. Stacks shrink first, then columns, so the screen is always fully used.
Set 0 to 48 px in the preset panel. Only the edges where two windows meet move in; the outer edges stay flush with the screen.
Borders you move are stored per window count. A fourth window gets its own layout, and when it closes your three-window borders come back.
Each monitor and workspace keeps its own preset and auto state. Monitors are recognised by vendor, product and serial; failed detection uses a separate fallback key. After a hotplug greenTile waits for the windows to settle before it tiles.
Windows are tiled in the order they already have on screen. Rearrange them by hand and the next retile respects it.